In the bustling world of digital productivity, the Snipping Tool stands as a silent yet indispensable ally for Windows users. Whether you’re a seasoned professional or a casual computer user, this humble utility provides a seamless solution for capturing, annotating, and sharing content from your screen. In this article, we’ll explore the versatility and functionality of the Snipping Tool, uncovering its myriad applications and offering tips for maximizing efficiency.
Introducing the Snipping Tool:
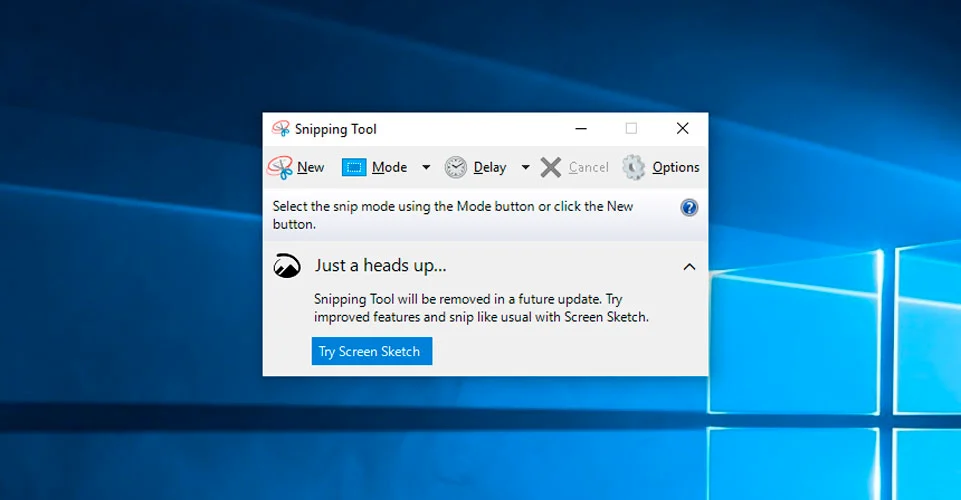
The Snipping Tool is a built-in screen-capture utility included with Microsoft Windows operating systems, starting from Windows Vista through Windows 10. Despite its unassuming appearance, this tool packs a punch with its intuitive interface and powerful features.
Key Features and Functions:
- Capture Modes: The Snipping Tool offers several capture modes to suit different needs. Users can choose from Free-form Snip, Rectangular Snip, Window Snip, and Full-screen Snip, providing flexibility in capturing specific areas or entire windows.
- Annotation Tools: After capturing a screenshot, users can annotate it with a variety of markup tools, including a pen, highlighter, and eraser. Text boxes can also be added to provide context or instructions within the captured image.
- Save and Share: Once annotated, screenshots can be saved as image files in various formats (e.g., PNG, JPEG) or copied to the clipboard for easy sharing via email, messaging apps, or other digital platforms.
- Delay Feature: The Snipping Tool includes a delay feature, allowing users to capture screenshots of transient elements such as context menus. This feature provides a brief delay before capturing the screen, giving users time to set up the desired screenshot.
Practical Applications:
- Documentation and Troubleshooting: The Snipping Tool is invaluable for documenting software bugs, capturing error messages, or providing visual feedback during troubleshooting sessions. Users can easily capture and annotate screenshots to communicate issues effectively with support teams or colleagues.
- Educational Purposes: Teachers and students can leverage the Snipping Tool to create instructional materials, capture diagrams or illustrations from online resources, and annotate screenshots to enhance understanding and engagement.
- Creative Projects: From designing graphics for presentations to creating visual content for social media posts, the Snipping Tool offers a simple yet effective platform for unleashing creativity and storytelling.
Tips for Maximizing Efficiency:
- Master Keyboard Shortcuts: Familiarize yourself with the keyboard shortcuts associated with the Snipping Tool to streamline the screen-capture process. For example, pressing “Ctrl + N” opens a new snip, while “Ctrl + S” saves the captured image.
- Experiment with Capture Modes: Explore the different capture modes offered by the Snipping Tool to find the most suitable method for capturing the content you need.
- Customize Settings: Take advantage of the Snipping Tool’s settings menu to customize options such as default file format, save location, and capture delay time.
- Integrate with Other Tools: Consider integrating the Snipping Tool with other productivity tools or applications to enhance your workflow. For example, combining it with a note-taking app allows for seamless annotation and organization of captured screenshots.
Conclusion:
In conclusion, the Snipping Tool is a versatile and user-friendly utility that empowers Windows users to capture, annotate, and share content from their screens with ease. Whether you’re documenting software issues, creating instructional materials, or unleashing your creativity, this humble tool provides a reliable solution for a wide range of tasks. So, the next time you need to capture a moment or illustrate a point, remember to harness the power of the Snipping Tool—an unsung hero in the Windows toolbox.