Introduction:
When it comes to enhancing the performance and comfort of your Chevrolet, one of the most overlooked yet essential upgrades you can make is installing high-performance shock absorbers. These components play a crucial role in maintaining your vehicle’s stability, handling, and ride quality. Upgrading to high-performance shock absorbers can significantly improve your driving experience, whether you’re hitting the open road or navigating the urban jungle. In this guide, we will walk you through the steps to install high-performance shock absorbers on your Chevrolet by yourself, saving you both money and the satisfaction of a job well done.
Materials and Tools You’ll Need
Before you start, gather the necessary materials and tools:
- High-performance shock absorbers compatible with your Chevrolet model
- Jack stands and a hydraulic floor jack
- Lug wrench or socket set
- Wrenches and pliers
- Wheel chocks
- Penetrating oil or rust penetrant
- Rubber mallet or a small sledgehammer
- Torque wrench
- Safety goggles and gloves
- A repair manual or online resources specific to your Chevrolet model
Step-by-Step Installation Guide
- Safety First: Always ensure your safety when working on your vehicle. Park it on a flat, level surface, engage the parking brake, and wear appropriate safety gear.
- Lift the Vehicle: Use a hydraulic floor jack to lift your Chevrolet off the ground and secure it on jack stands. Ensure that the vehicle is stable before continuing.
- Remove the Wheels: Loosen and remove the lug nuts with a lug wrench or socket set and carefully take off the wheels. Keep the lug nuts in a safe place for reinstallation later.
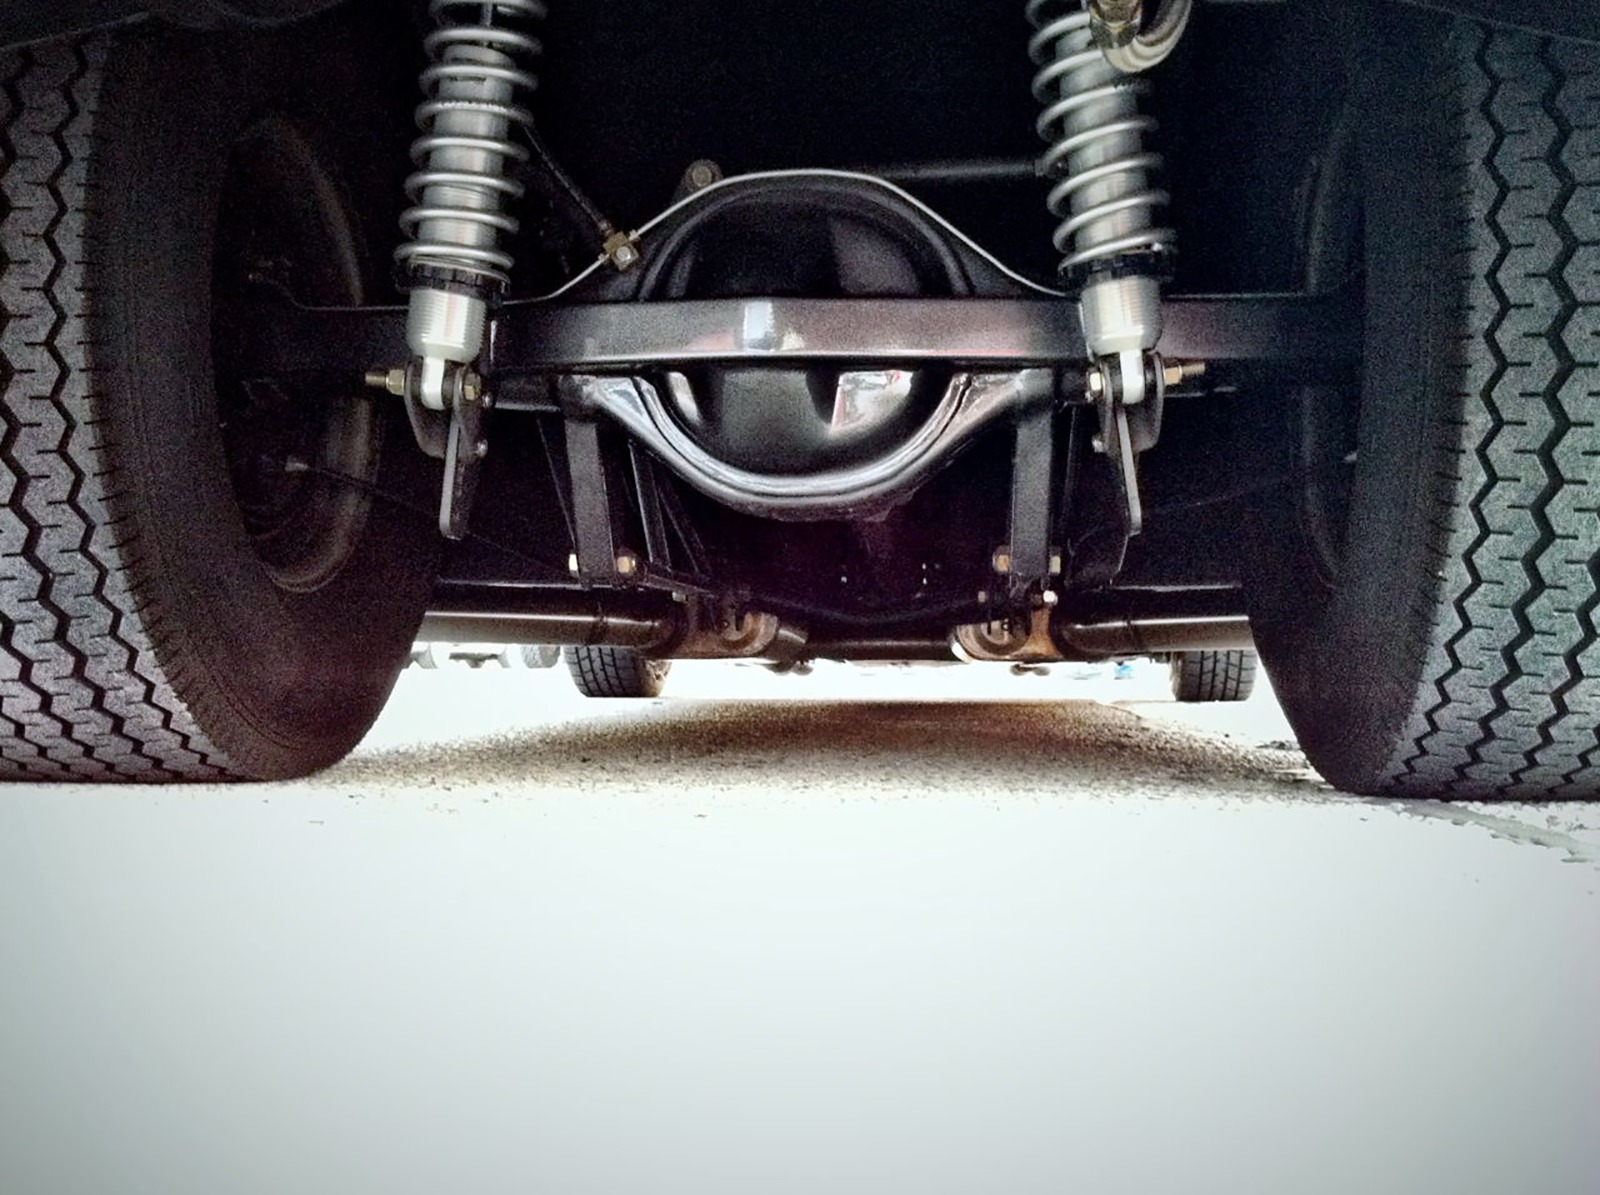
- Locate and Remove the Old Shock Absorbers: Consult your repair manual or online resources to identify the location of your vehicle’s shock absorbers. You may need to remove other components like the wheels, brakes, or suspension components to access them. Once you have access, use penetrating oil to loosen and remove the nuts and bolts securing the old shock absorbers.
- Replace with High-Performance Shock Absorbers: Carefully install the new high-performance shock absorbers in place of the old ones. Make sure they align properly with the mounting points and secure them with the nuts and bolts provided. Use a torque wrench to tighten the fasteners to the manufacturer’s specifications.
- Reassemble the Vehicle: Reattach any components you removed earlier, such as wheels, brakes, or suspension parts. Ensure all connections are tight and secure.
- Lower the Vehicle: Carefully lower your Chevrolet off the jack stands using the hydraulic floor jack.
- Torque Lug Nuts: With the vehicle’s weight on the ground, use a torque wrench to properly tighten the lug nuts to the manufacturer’s recommended torque settings.
- Test Drive: Take your Chevrolet for a test drive to ensure that the new high-performance shock absorbers have been installed correctly. Pay attention to the handling, stability, and ride comfort.
Conclusion
Upgrading your Chevrolet with high-performance shock absorbers is a rewarding DIY project that can significantly enhance your driving experience. By following this step-by-step guide, you can save money on installation costs and enjoy the satisfaction of knowing you’ve improved your vehicle’s performance and comfort with your own hands. Remember to always prioritize safety and consult your repair manual or online resources specific to your Chevrolet model for any model-specific instructions or precautions.
Stay in touch to get more updates & alerts on Washington Greek! Thank you