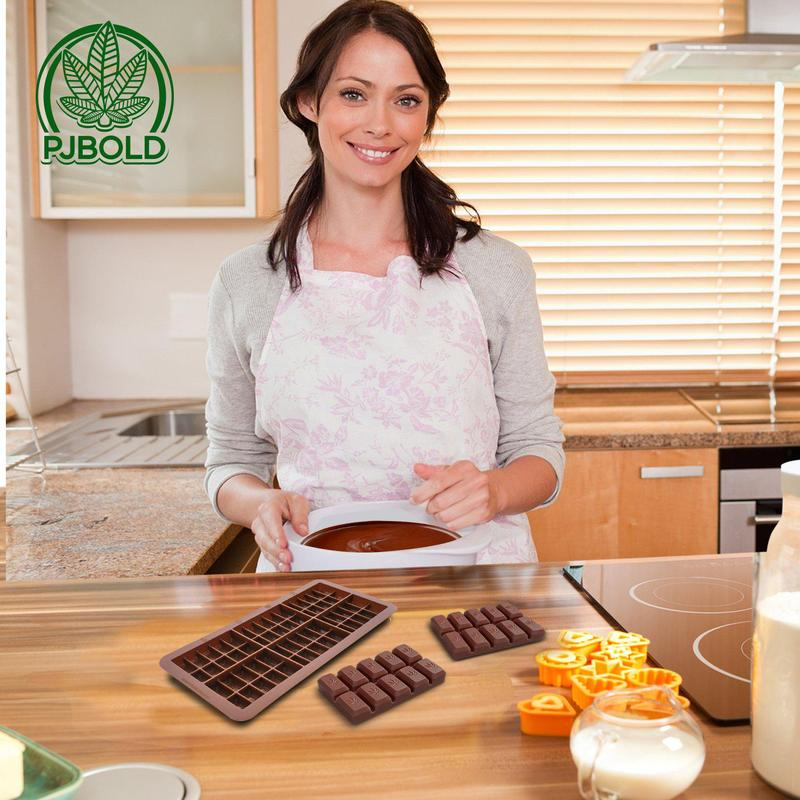
Do you love chocolate? Just picture yourself crafting homemade chocolate shapes. But that’s not all—it’s a way to let your creativity flow.
You may use silicone molds to make chocolates into any shape you can think of. Feel free to make your own designs besides squares and hearts.
Follow along with this comprehensive guide. Using your creativity and the right molds. You’ll learn how to shape chocolate and what kinds of chocolate are ideal.
Since you made these chocolates, they will be one of a kind. No matter whether you’re hosting a party, eating them, or giving them as a gift.
The Basics of Chocolate Molding
Mastering the basics is a must if you want to begin shaping chocolate into beautiful objects. Use the right sort of chocolate for the finest outcomes.
The practice of shaping chocolate dates back many centuries.
Many people like it this way when they eat chocolate. Why?
Since it enables the transformation of plain chocolate into aesthetically pleasing forms.
You can make anything like hearts with custom designs mold. And it’s easy to start. You just need the right kind of chocolate and some molds.
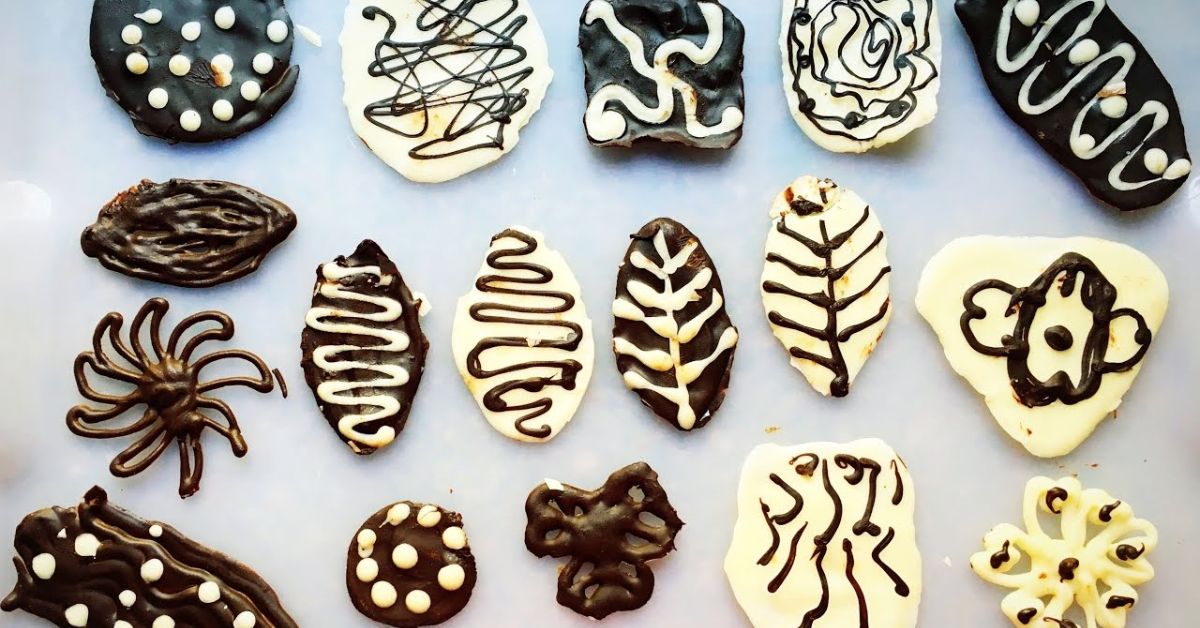
Different Chocolate Shapes and How to Make Them
Explore popular chocolate shapes and discover how easy they are to make with PJ Blod molds.
From heart-shaped to custom designs, the possibilities are endless.
Different Chocolate Shapes
You can mold your chocolate into various shapes, each uniquely suited for specific occasions. Here are some shapes into which you can transform your chocolates:
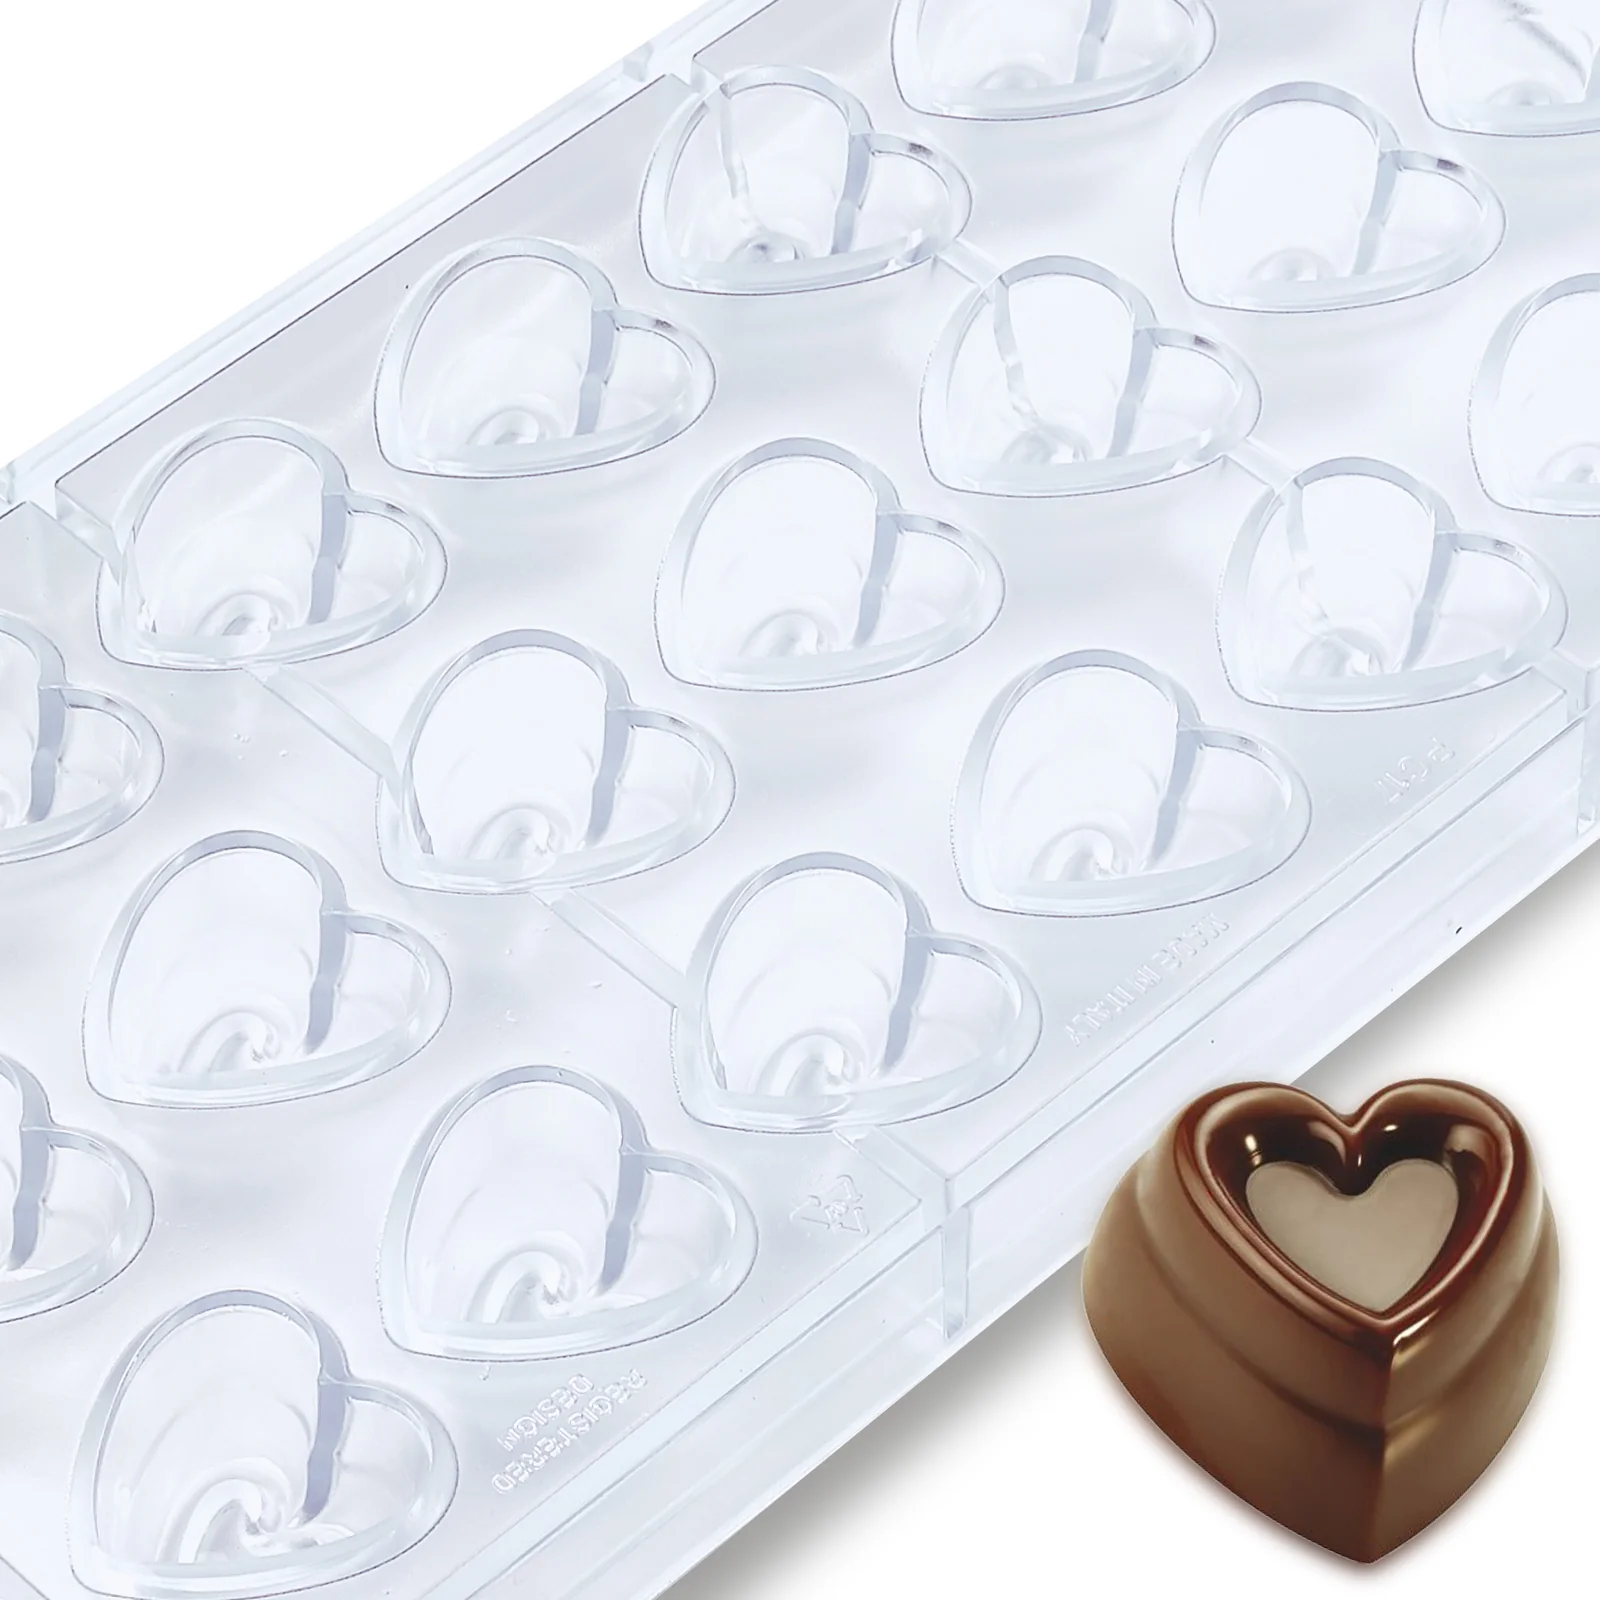
Heart-Shaped Chocolates
Heart-shaped chocolates are perfect for gifts. The process to make them is very easy and simple.
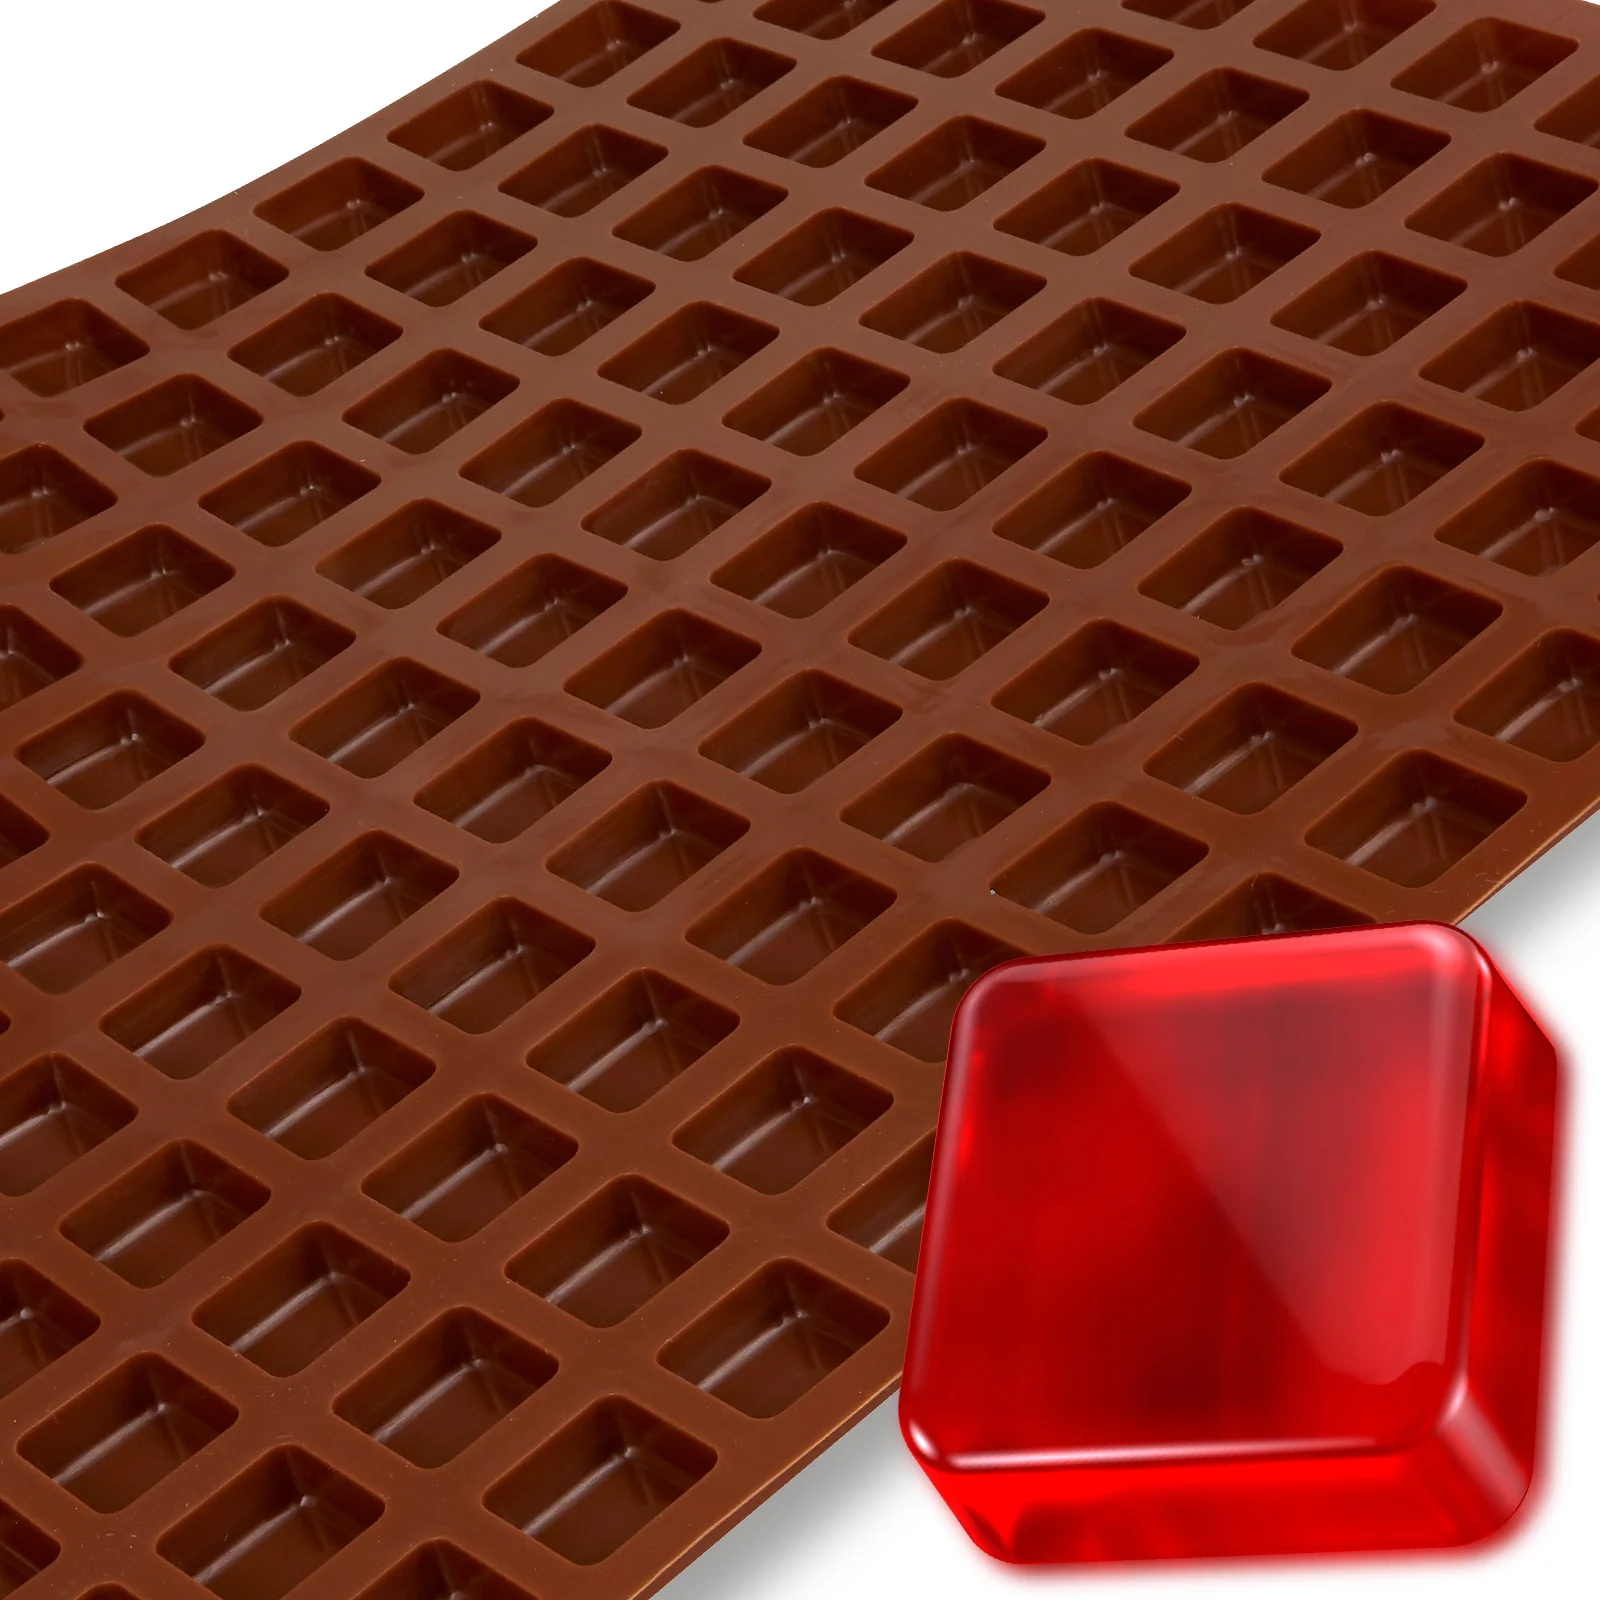
Square Chocolate Molds
Square chocolates are classic and simple. The process is explained below. These shapes are great for adding fillings. Pour some chocolate, add your filling, then cover with more chocolate.
Novelty Shapes
There’s a mold for almost any shape you can think of. Animals, letters, and even holiday themes. Making these shapes follows the steps explained below. The fun part is choosing molds that match your theme or event.
Custom Shapes
The process of creating chocolates in custom molds is thrilling. Now is the time to let your imagination run wild. Custom molds allow for the creation of any design, whether it is a brand, a beloved figure, or something else entirely.
Creating Chocolate Shapes: A Simple Process
Follow these easy steps to transform basic chocolate into stunning shapes.
1. Choose Your Chocolate
Pick the right chocolate type:
- Dark Chocolate: Rich and full of cocoa.
- Milk Chocolate: Sweet with milk.
- White Chocolate: Creamy, no cocoa solids.
Use couverture chocolate for molds. It melts and sets well.
2. Prepare the Chocolate
Melt the chocolate gently. Use a double boiler or microwave. Don’t overheat it; it can burn.
3. Temper the Chocolate
Tempering makes chocolate shiny and snap. Melt, cool slightly, then warm it up again. This makes it set right.
4. Pour Into Molds
Fill your molds with chocolate. Use silicone molds for easy release. Tap them to remove air bubbles.
5. Let It Set
Let the chocolate cool and harden. You can wait or use the fridge. Don’t touch until set.
6. Demold
Gently push the chocolates out of the mold. If they stick, tap or flip the mold.
7. Decorate (Optional)
Add decorations. Use edible paint or more chocolate. A brush or piping bag can help.
8. Package Your Chocolates
Package them nicely. Use boxes or bags. Choose packaging that fits the occasion.
9. Storage
Store chocolates in a cool, dry spot. Keep them away from strong smells.
Making chocolates is fun. You can be creative with shapes and flavors. It’s perfect for gifts or selling.
Remember, the process is the same. The magic is in the mold. PJ Blod can make custom molds for any shape you can imagine.
Best Suitable Chocolate for Molding
Not all chocolate works well for molding. The best type is called couverture chocolate.
Couverture chocolate:
Why is it the best?
Because it melts smoothly and sets perfectly. Your chocolate forms will end up looking glossy and smooth. Couverture chocolate relies on cocoa butter as its main component.
There are three color options: dark, milk, and white. In some places or online, you may purchase it.
It is critical to use the appropriate chocolate. Your chocolates will turn out beautifully and taste great every time using this method. Following our discussion about molding, let’s move on to selecting the best chocolate.
At each turn, you may rely on this manual for assistance. Amazing chocolate forms will be yours to make in no time!
Essential Tools for Chocolate Molding
Creating beautiful chocolate shapes starts with having the right tools. Among these, chocolate molds are essential. Let’s explore the types of molds and additional tools needed for chocolate making.
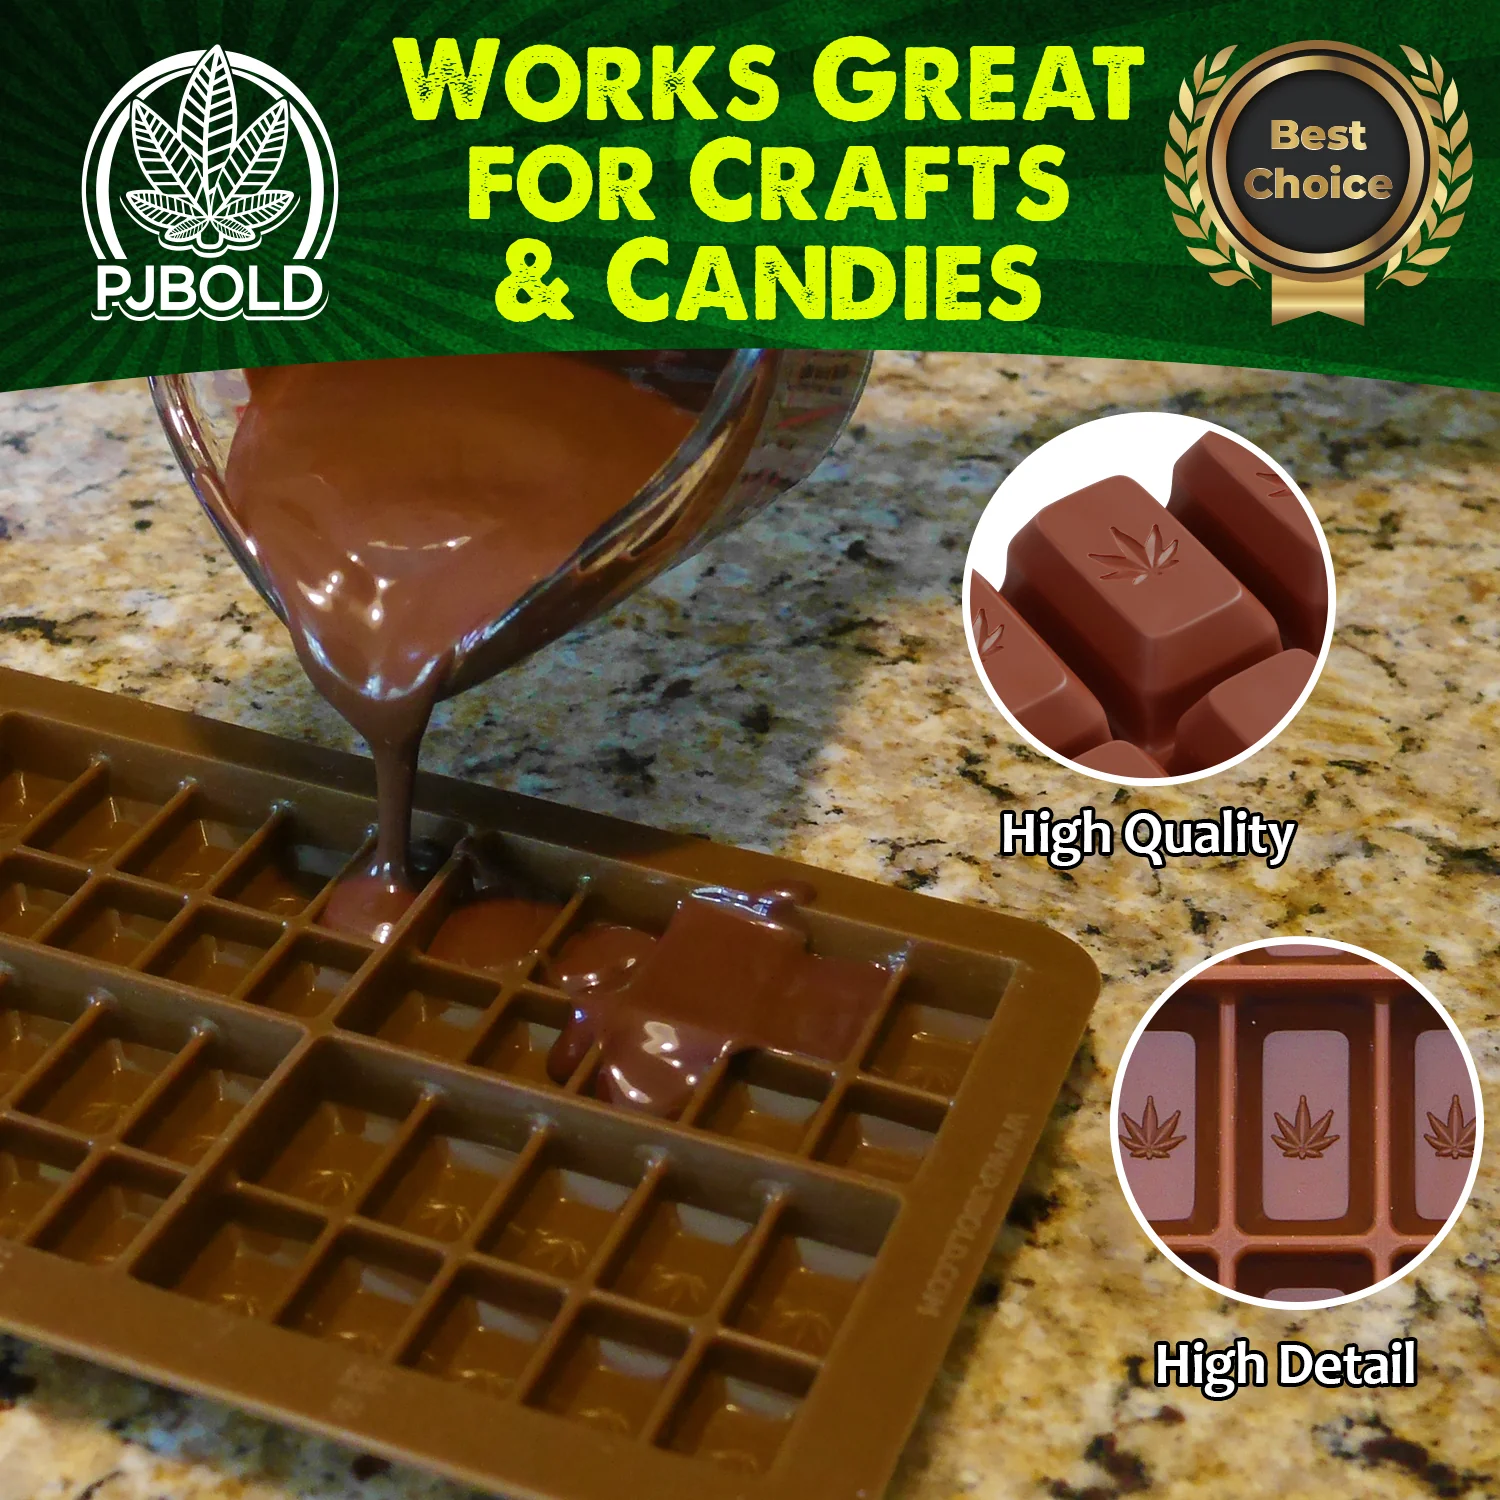
Silicone Chocolate Molds
A silicone mold is a must-have tool for anybody dealing with chocolate. They are perfect for carefully popping out chocolates without breaking them because of their pliability. Silicone is oven and freezer-safe because it does not melt or crack when exposed to high or low temperatures.
And they come in many shapes! From hearts to squares and even unique designs.
When choosing molds, think about what shapes you like. Do you want to make chocolates for a special day? Pick heart molds. For something classic, square molds are great.
One advantage of silicone molds is their durability and ease of cleaning.
Custom Silicone Molds
What if you want a shape that’s special, something just for you? Custom molds are the answer. You can make a mold of your design. This is great for making chocolates that stand out.
Remember, PJ Bold can make custom molds for any shape you can imagine. This opens the door to the possibility of making handmade candies.
Additional Tools:
A few more tools will help you make perfect chocolates. In addition to molds, the following items are necessary for chocolate molding:
Thermometer:
A must-have for getting the chocolate melted and tempered just so.
Spatulas:
Essential for blending melted chocolate and achieving a velvety smoothness.
Brushes:
Decorative chocolate accents made easy. Like paint or delicious dust.
Common Molding Problems and Solutions
Sometimes, making chocolates doesn’t go as planned. Here are some common problems and how to fix them.
Chocolate Blooms:
This happens when chocolate gets too warm or too cold. Make sure to keep your chocolate at a stable temperature.
Cracking:
If your chocolate cracks, it might have cooled too fast. Cool your chocolates slowly in a cool, dry place.
Sticking in the Mold:
If chocolates stick, they might need more time to set. Wait a bit longer before trying to take them out. Also, make sure your mold is clean and dry before using it.
PJ Blod molds are made to help you avoid these problems. They’re high quality, so chocolates come out easily and look great.
Leveraging Chocolate Shapes for Business or Pleasure
Turn your chocolate shapes into a business, or enjoy making them as a hobby. PJ Blod molds offer the versatility and quality you need for any project.
For Entrepreneurs
Selling your chocolate shapes can be a good business. Use unique designs to stand out. Share pictures online to attract customers. Good packaging helps, too. Selling chocolates you made can be rewarding.
For Pleasure
Making chocolate shapes is fun. You can use them for parties or as gifts. Try new shapes and flavors. Sharing your chocolates makes people happy. It’s a great hobby.
Conclusion
Making chocolate shapes is a creative and enjoyable activity. Whether for fun or to start a business, it brings joy. This guide showed you how to make, decorate, and package chocolates. Remember, practice is key. Don’t be afraid to try new shapes and decorations.
Visit our website, pjbold.com, for more tips and tools. Start making your chocolate shapes today!